Activity Stream
Posts Activity Stream
-
-
-
Warp might do it - Believe the IVO has pins in the blades, and they might not work reversed in the hub?
EDMO
-
They are the yellow springs supplied by HighWing LLC with this gear. I am waiting to hear your report with the springs that you are trying.
1 person likes this -
-
good report. What springs are you using on it? I am hoping to beat up my gear a bit when I get home, but 40 and raining with 35 MPH winds are in the foreseeable forecast.. hope it clears up next week and I can test out the gear and the wind generator more!
 1 person likes this
 -
Dont let the eye candy stop you from taking pics.. dont let it stop you from posting them either

Looks like a sweet vacation mr! enjoy it!
-
-
1st thing. With the flaperons in place, do they move smoothly or do they "cam" over center. My ribs were a little out of align and my flaperons would cam over center and flop one direction or the other. I expoxied dowels in the holes and redrilled the flaperon mounts.
you could makes a scarf joint on the rib tail and glue another piece of ply on it and glue / bolt aluminum on each side of it to extend the hangar. If you do the last rib only your probly going to have to do the dowel trick and redrill the remainder of the hangars to keep the flaperon from "caming" over and getting a bow in it.
-
Not having but a few minutes to think about this, I have two thoughts:
1. Modify your flaperon hangers.
2. Modify your ribs.
Got to think some about HOW?
Maybe someone else has a cure for your problem so you don't have to tear up your wing?
EDMO
-
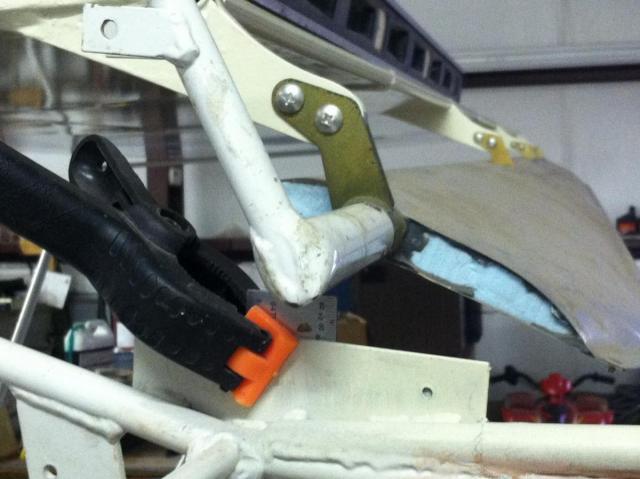
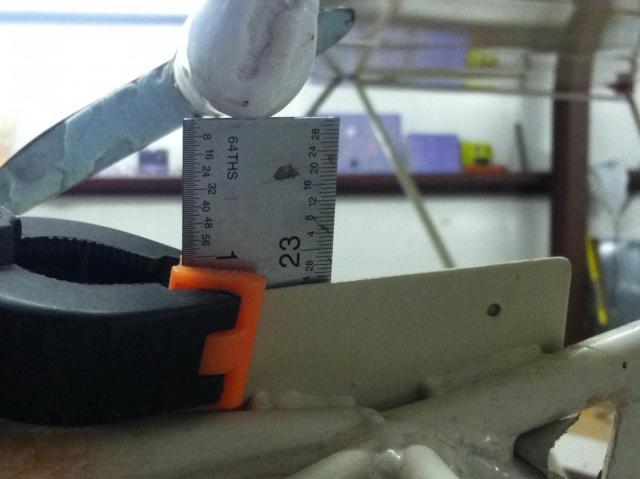
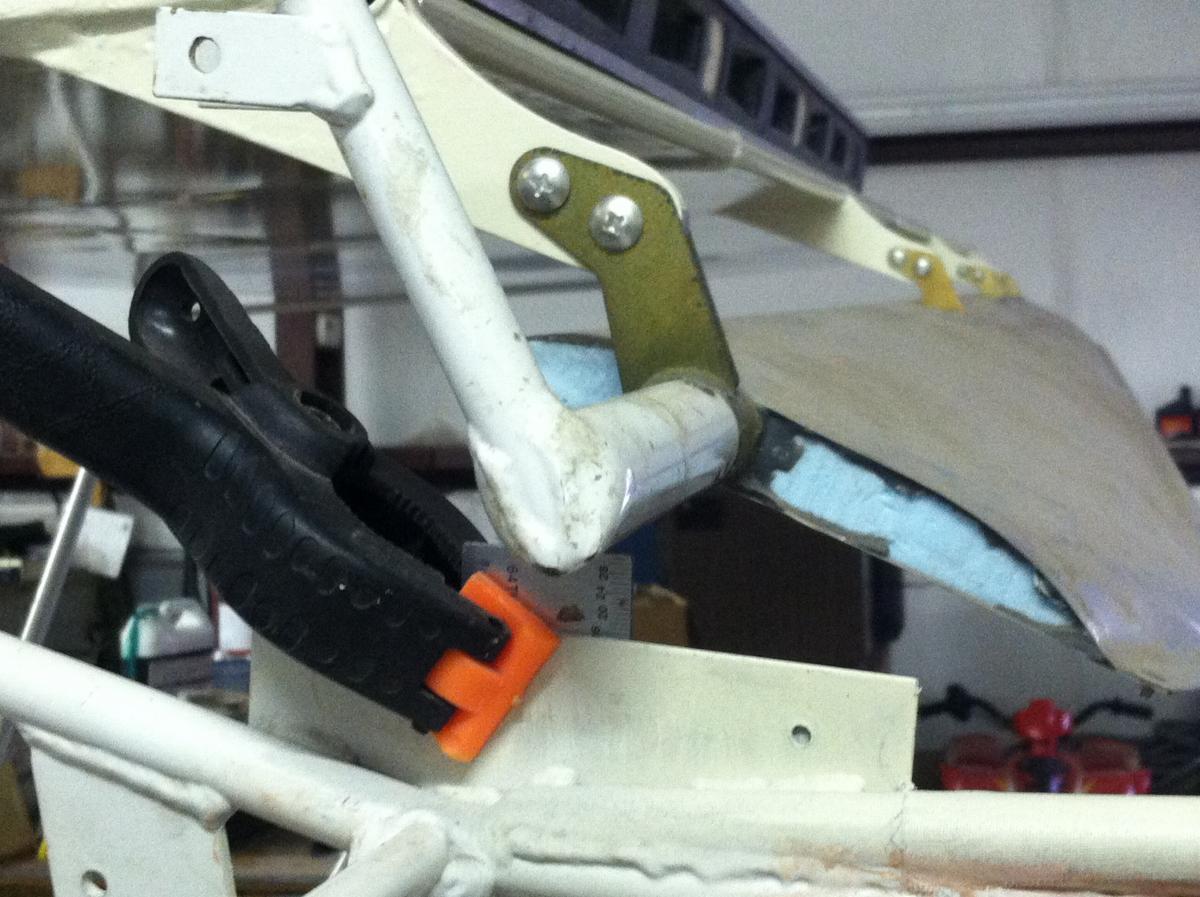
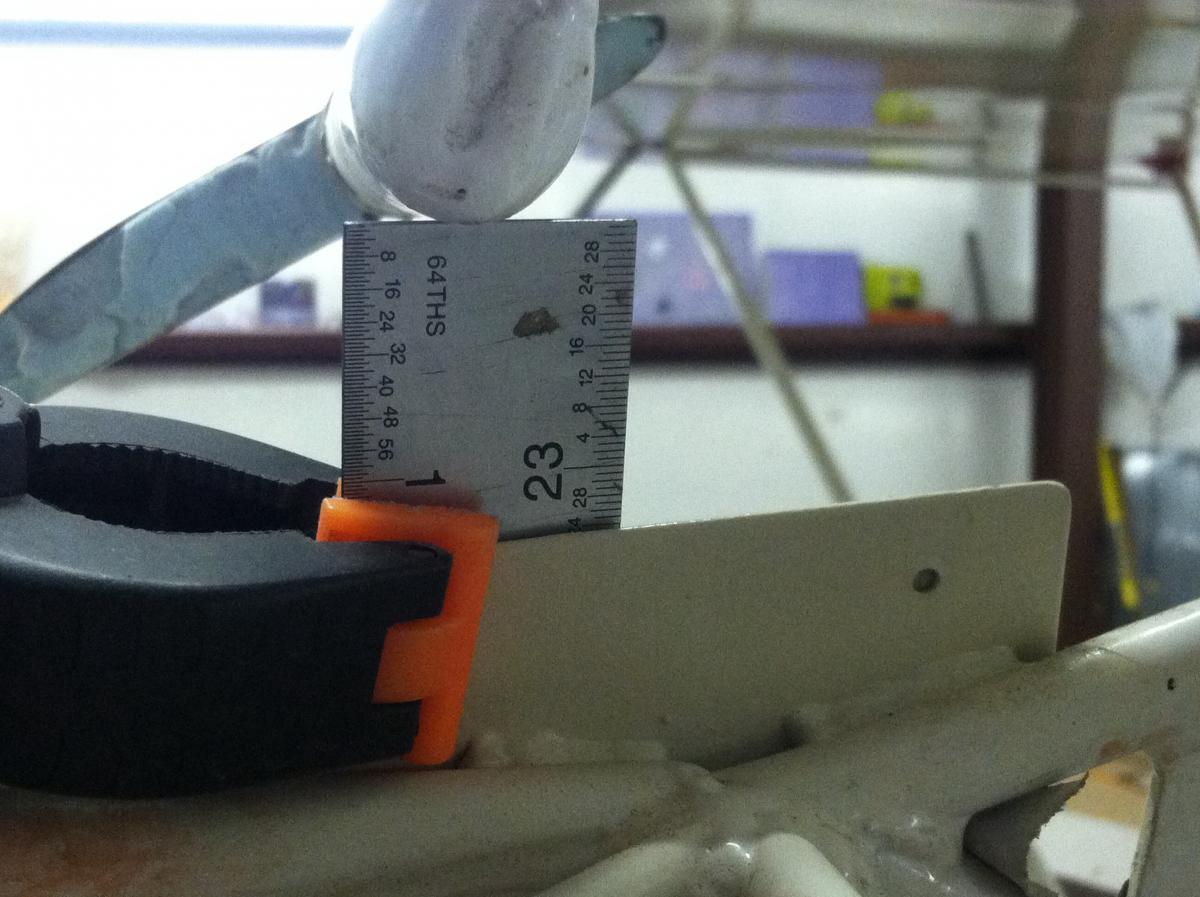
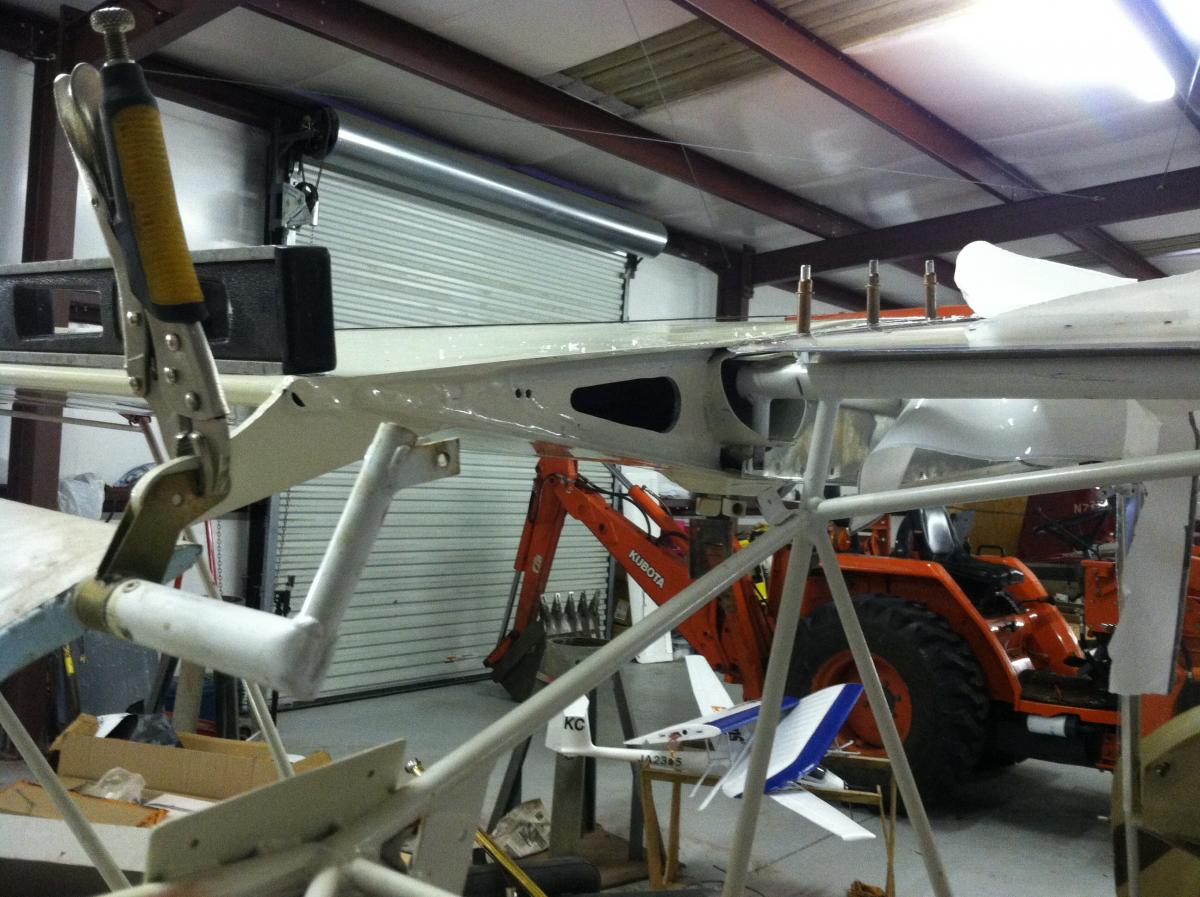
This forum has been great helping me through the final build of my newly acquired avid flyer model c. I purchased the plane already built and covered with the wings rigged but flaperons yet to be installed. The manual calls for the Flaperon control horn tube to be 3/16" above the welded fuselage tab. Well I got my right side to about 1/2" above the welded tab. This is 5/16" higher then the manual states but is still fine as when the turttle deck in installed the Flaperon control horns don't hit until the very extreme position. Now the left Flaperon is a totally different story and he is where the problem is. My left Flaperon control horn tube is 1 3/16" above the welded fuselage tab, this is 1" higher then it should be and when the turttle deck is installed the Flaperon control horn hits the turttle deck. I tracked down the problem to the first 3 root trailing edge ribs; they are NOT in trail with the other ribs. Since both of my wings have fuel tanks the tanks take the place of 3 main ribs, but have you glue 3 trailing edge ribs that run from the rear spar to the trailing edge wire. The position of these ribs at the furthest aft point is to be determined by clamping a long aluminum tube to the other remaining ribs, that are full length so the trailing edge of these ribs are set by the rib design, then one by one glue in the 3 trailing edge ribs clamping them to the aluminum tube to set the proper height of the end of the rib I relation to the rest of the ribs. If my wing wasn't already covered and painted beautifully i wouldn't be so apprehensive of what I'm pretty sure is the only fix; to strip the wing of covering, re position the 3 trailing edge ribs, then recover and re paint. Anybody have some advice you could give me, would be much obliged.
Thanks
Bill
 1 person likes this
 -
-
Oops wrong way! Stopped here for the free wifi and Prez. -17F at home WHOA!
 1 person likes this
 -
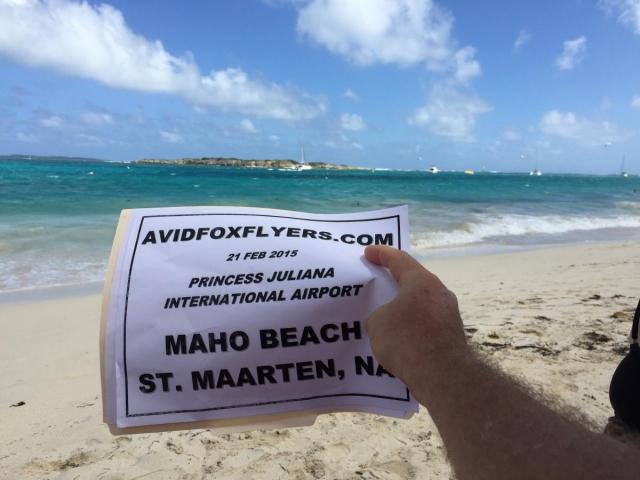
...then I ran into the Presidente of Dominica! Was going to represent AFF on the worlds craziest airport approach beach and hold the sign under as the 12:40pm KLM 747 heavy from Amsterdam passed over 30' up but the sand, surf and sights on the famous Orient Beach Naturist Resort screwed with my plan. Maho or mammories, Life's a Beach eh this is gonna have to do!
 5 people like this
 -
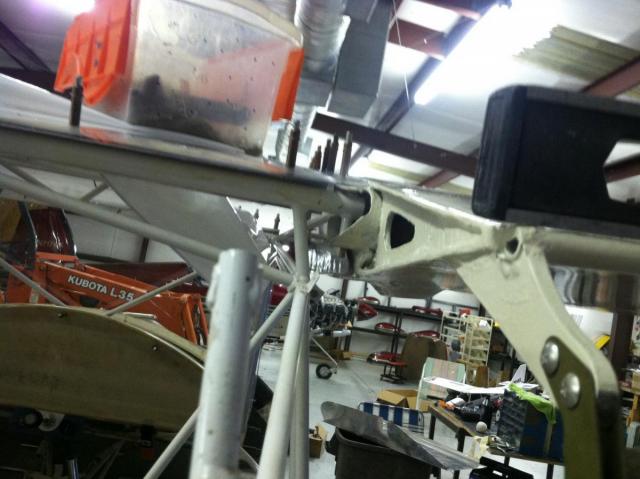
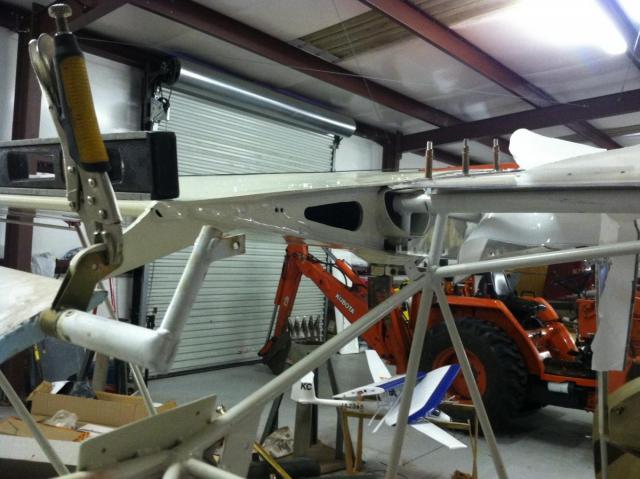
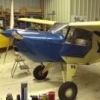
I have about 240 hrs. on the HighWing bush gear now. After re-enforcing the fuselage everything is working well. I have bounced it in several times without any problems and no sign of being able to bottom out the springs.
 Very happy with the setup.3 people like this
 -
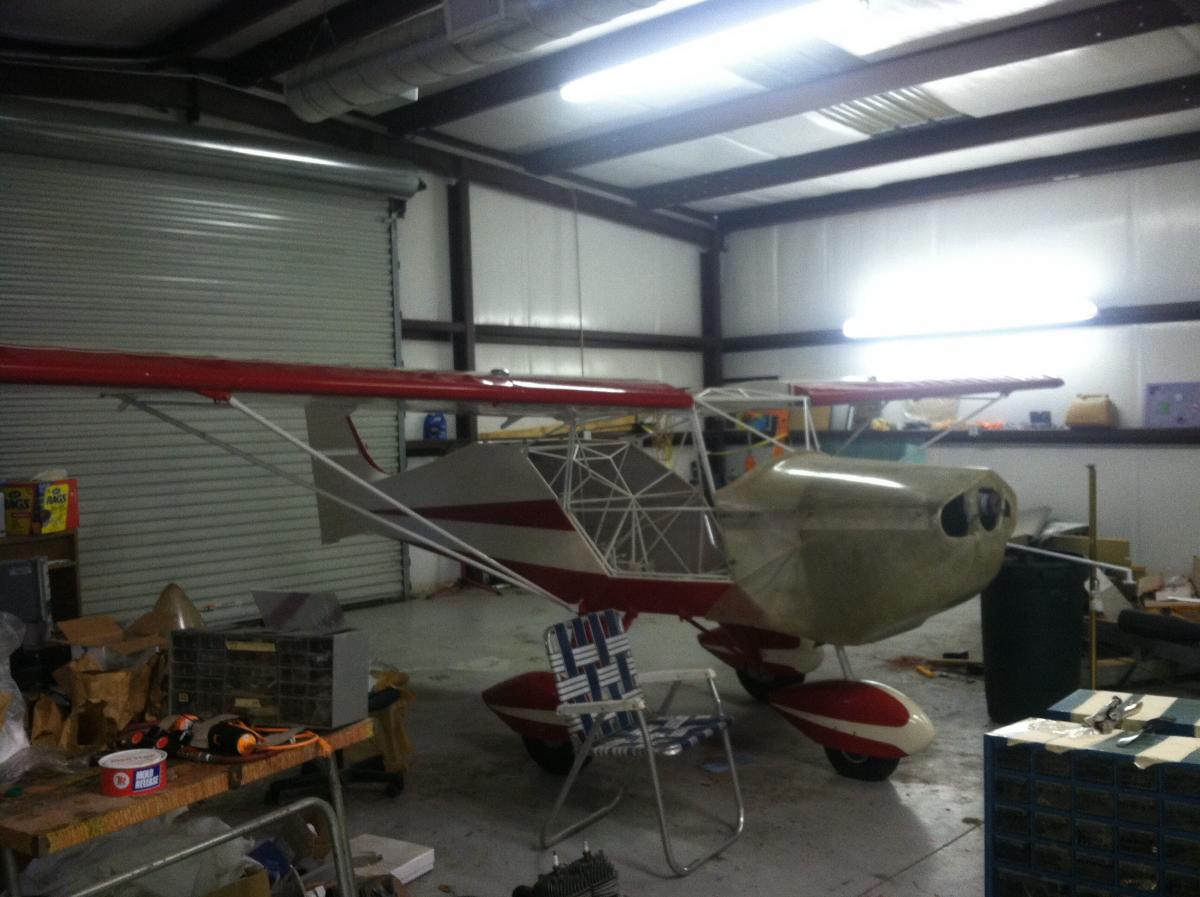
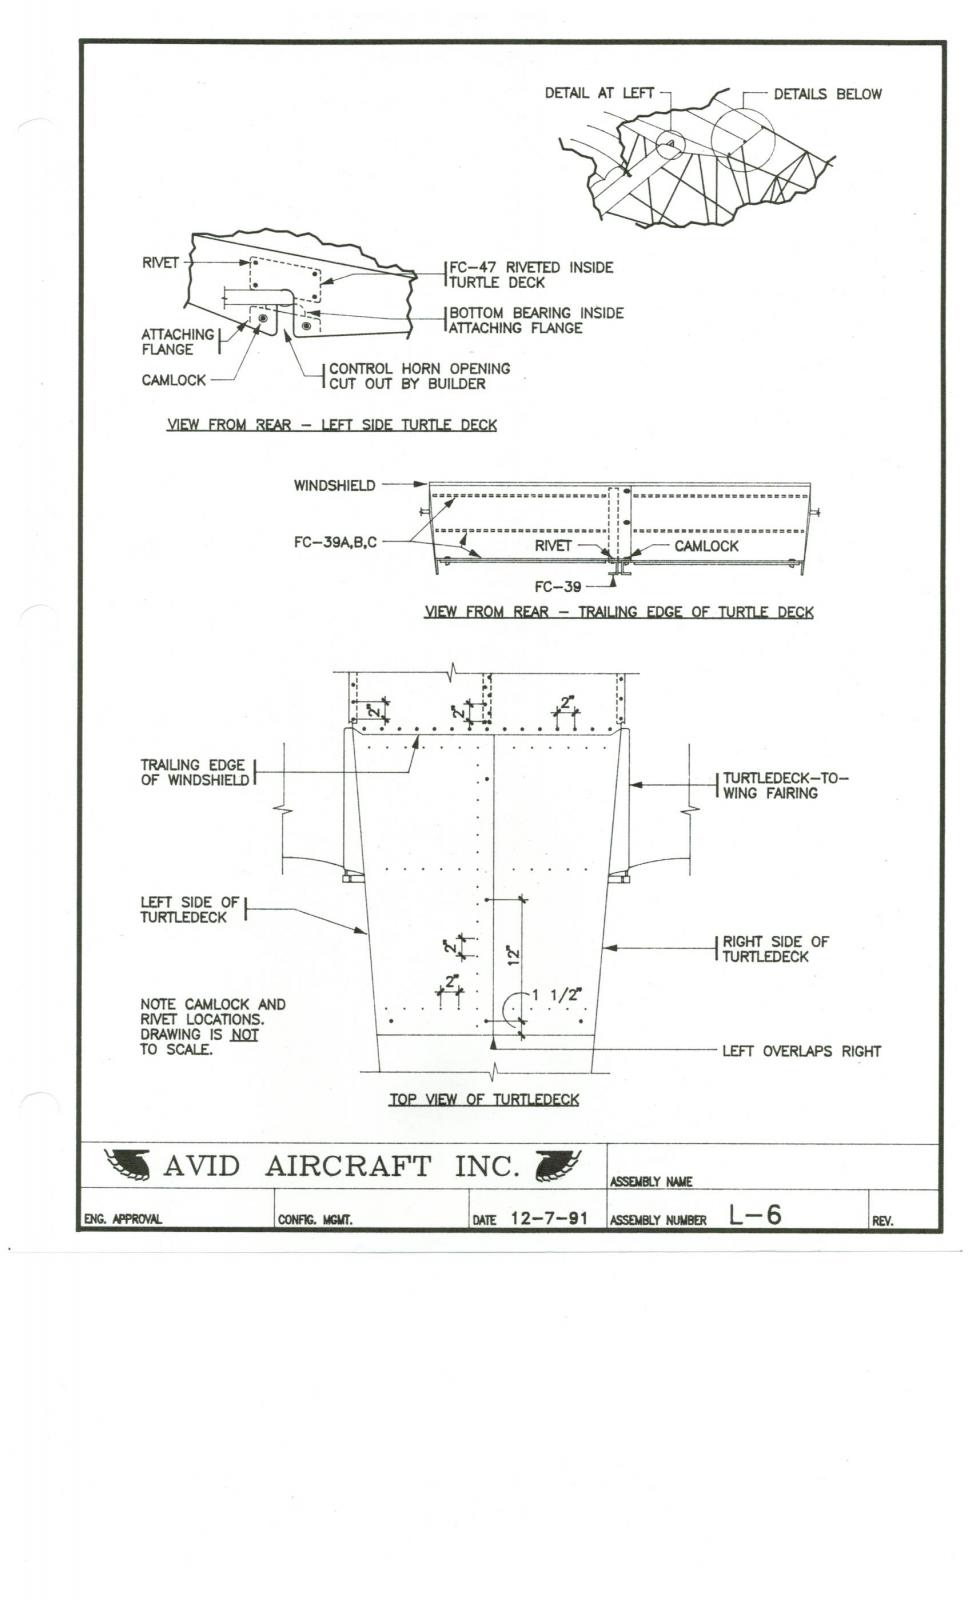
Hi all I'm working on a recently purchased avid model c and currently working on the turtle deck. Unfortunately my manual does not tell me where to rivet the stiffeners to the turtle deck. Can someone direct me with some photos or info?
Thanks much,
Bill[/quote
Here is a photo of page from the D manual (should have said MK IV) and this is how I did mine.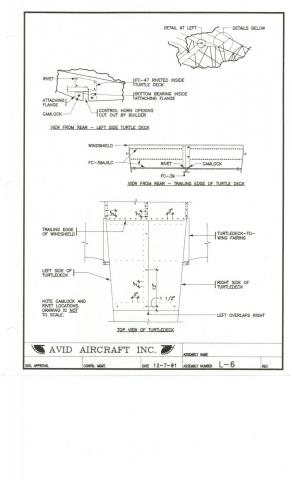
-
I agree with that, but I don't know how the Bandit compares with the Avid HH 1200 on that.The current Kitfoxes (5 through 7SS) can be built to 1550 gross with .063 wall spars, using a 60" long extruded insert.
Spar wall thickness has zero to do with gross weight. Landing gear, fuselage fittings,struts, etc. I believe are the difference.
You can also add, the engine and the Cahunas!
EDMO
-
The current Kitfoxes (5 through 7SS) can be built to 1550 gross with .063 wall spars, using a 60" long extruded insert.
Spar wall thickness has zero to do with gross weight. Landing gear, fuselage fittings,struts, etc. I believe are the difference.
-
Leni, I have done some research on using LED back-up bulbs - they don't flash, but are a whole lot cheaper, and cut down on the current required for the limited 2-cycle electric - I believe that if you put some bright aluminum, stainless, or foil to the rear of them in the housing, you will increase the light output - like the mirrored inside of the old Grimes bulbs.https://www.aircraftspruce.com/catalog/elpages/navstrobe11374.php
5 minute swap and you have straight nav lights or 3 burst strobes. Im happy with them so far especially for the price.
Not necessary, but might improve light output.
EDMO
-
-
Chris,
I agree on the heat from the sun down here - That's why I recommend a light tinted TD, and a dark tinted Skylight. I put the dark bronze sunroof and light bronze tinted windows on my Ercoupe, and it made a world of difference.
Of course, the low wings did not shade the windows like the AvidFoxes.
EDMO
-

Guest
My MKIV had an aluminium TD with a small window in each half. While it looked nice, the windows did little but let light into the baggage compartment.
My Magnum had a lexan TD. it looked awesome, but really did nothing to help visibility and definitely contributed to the sweat box effect of the plane when flying in the sun. i found that I needed to put shades overhead and do everything I could to not be fried in the sun with all that glass.
lexan is also much heavier than aluminium. If it were me I would go solid (but thin) AL TD and get sun shades for directly overhead that you can put up when flying in the sun.
The most beneficial thing I did to both the MKIV and Magnum was to replace the aluminium door bottoms with lexan. What a huge difference in visability during flight and landing. Just a HUGE improvement and a real pleasure compared to the metal bottom doors. Adding door bottom glass does not really tend to add heat to the cockpit on sunny days either.
My 2 cents, but I do have 1700 hours flying around in these things, a lot of it in the sun.
Chris
-
https://www.aircraftspruce.com/catalog/elpages/navstrobe11374.php
5 minute swap and you have straight nav lights or 3 burst strobes. Im happy with them so far especially for the price.
-
First time I looked at this threat and I like how you did it by keeping all your pictures in one section think I will start that under the kitfox 1 section since that section is dead. also I like the stringer you added to the top of your bird, we'll call that the fast back mod.
-
I got a set of led bulbs from ac spruce for my old grimes navigation lights. Pretty bright. They are 35 bucks each but if you turn them on, turn off then back on within 3 seconds they strobe. No power supply needed other than your battery and are a direct replacement bulb.
Leni do you have a part# for these bulbs? sounds like my easiest option as I'm already set up with grimes lights


Avid model C turtle deck pictures needed...
in Avidfoxflyers General Hangar
C5Engineer
Posted
Here's a few pics hope they help.